Customise
Enhance your Glider PayTo button experience with these features.
Lightbox

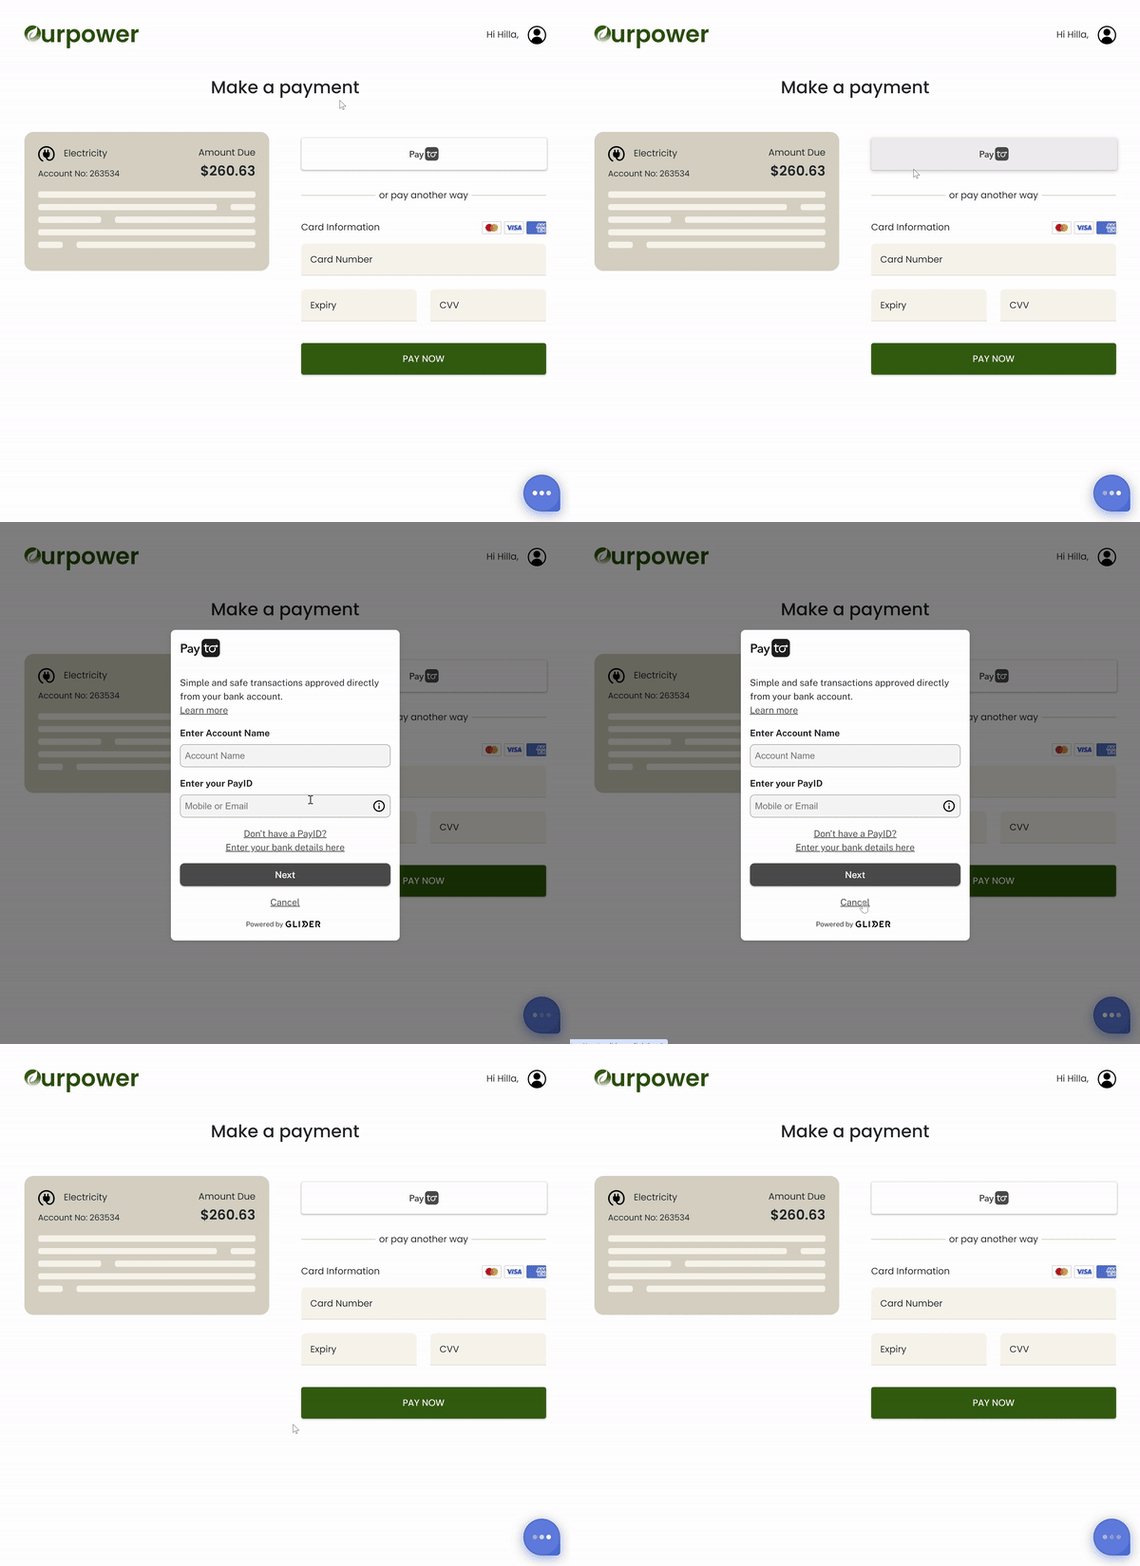
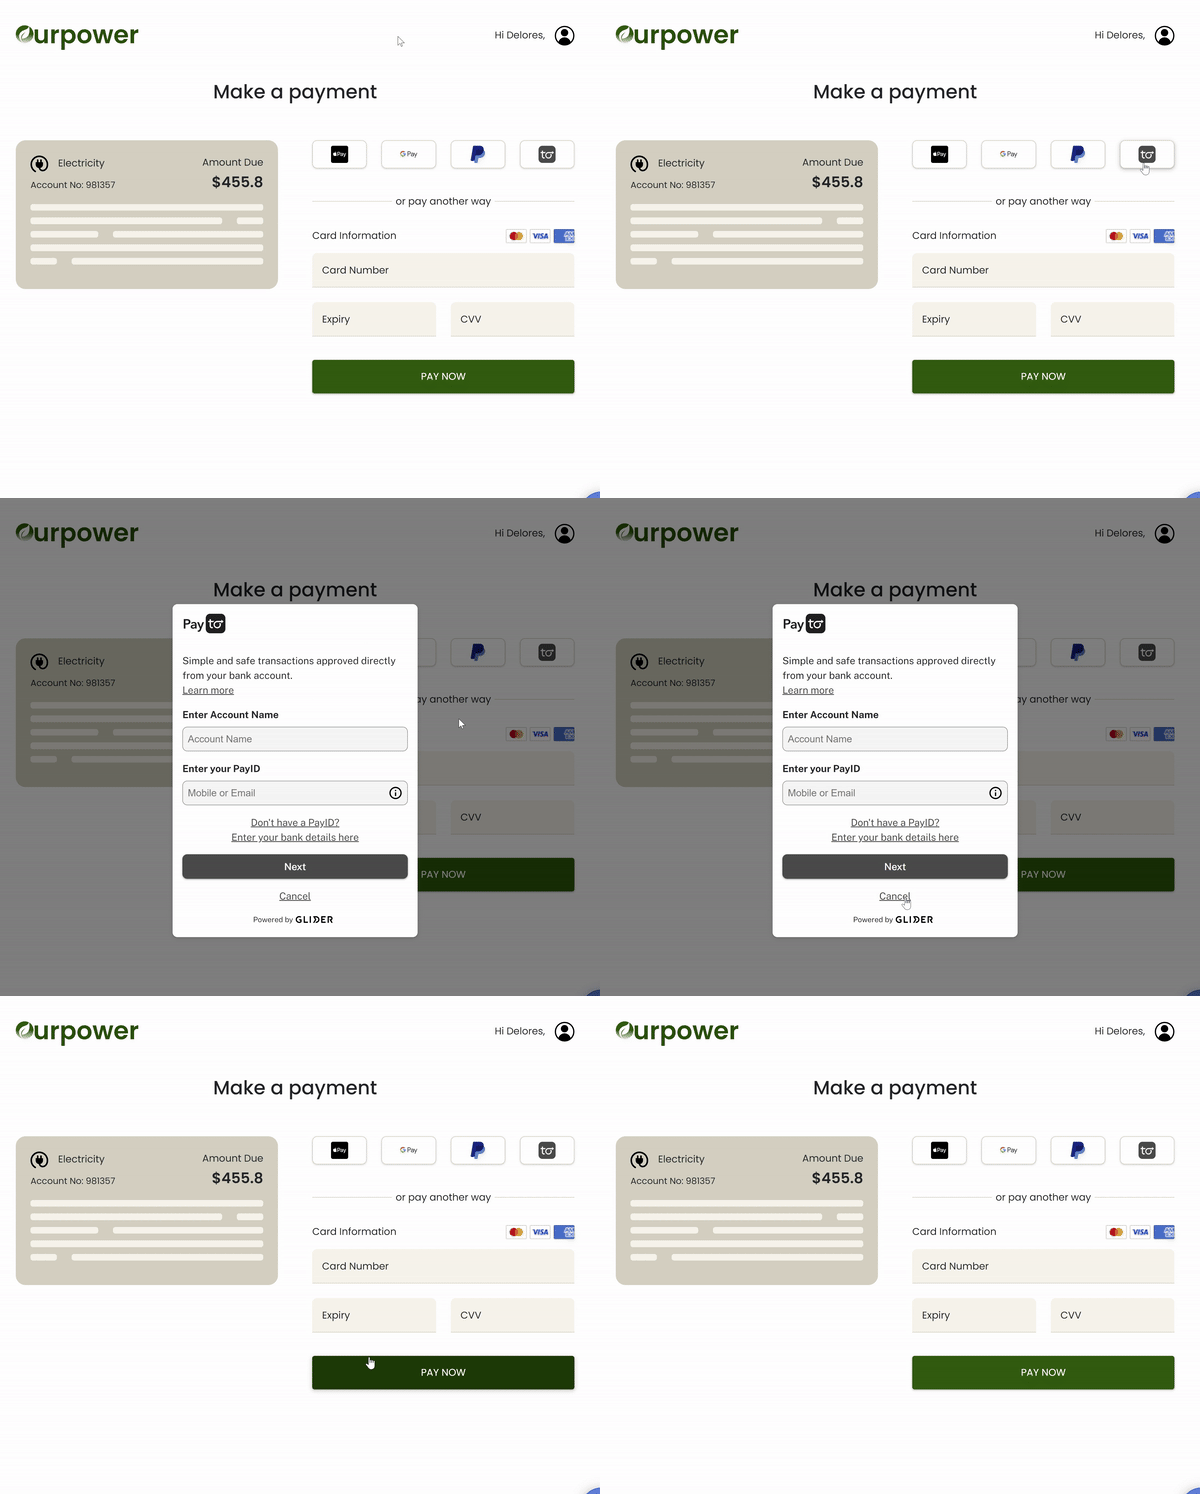
Glider PayTo button allows you to open the payment form into a modal / lightbox format.
This will allow you to easily integrate with your app design in case you have constraints of space, fixed object, etc ...
You can simply enable it in the init method by setting the style.option value to lightbox
<script>
  GliderPayTo.init({
      endpoint: "/my-server/agreement",
      agreement: { ... },
      style: {
        option: "lightbox",
        ...
      }
  })
</script>
Autofill name
PayTo agreement requires the user to specify their bank account or full name.
This value will get validated (NPP doesn't run this validation yet) against payId or bank details before generating an agreement.
Since most of checkout process will already have captured this information (user full name) you can pass that to the glider SDK via the init function so we can pre-fill this field. User will still be able to edit that if needed.
Use the agreement.debtorName field to set up this value
<script>
  GliderPayTo.init({
      endpoint: "/my-server/agreement",
      agreement: {
        debtorName: "John Doe"
        ...
      },
    	style: {...}
  })
</script>
Button themes

PayTo default buttons are available in two themes dark and light.
To set up a theme use the style.buttonTheme option light or dark
<script>
  GliderPayTo.init({
      endpoint: "/my-server/agreement",
      agreement: { ... },
      style: {
        buttonTheme: "dark",
        ...
      }
  })
</script>
Custom button

If the default PayTo button style doesn't match your website brand you can use a custom button.
Use the style.customButton to specify the id of the button.
<script>
  GliderPayTo.init({
      endpoint: "/my-server/agreement",
      agreement: { ... },
      style: {
        option: "extend", // or lightbox
        customButton: "my-custom-button",
        ...
      }
  })
</script>
Form Only
If you want the form to be integrated directly to you site instead of a button, you can do so by setting the style.button to false and specifying the elementId. The elementId is the id of the element where the paTo form will be rendered. Make sure that the elementId is present on the client side.
<script>
  GliderPayTo.init({
      endpoint: "/my-server/agreement",
      elementId: "my-payto-form",
      agreement: { ... },
      style: {
        button: false,
        ...
      }
  })
</script>
Custom font
If the default PayTo button font doesn't match your website brand you can use the style.font to specify the font-family. For this to work the client side should include the reference of the font file
<link rel="stylesheet" href="https://fonts.googleapis.com/css?family=Poppins:300,400,500,600,700" media="all">
<script>
  GliderPayTo.init({
      endpoint: "/my-server/agreement",
      agreement: { ... },
      style: {
        font: "Poppins",
        ...
      }
  })
</script>
Hide the form header logo
If you want to hide the payTo logo on the payTo form, you can do so by disabling the style.formHeader. By default, style.formHeader is always set to enabled
<link rel="stylesheet" href="https://fonts.googleapis.com/css?family=Poppins:300,400,500,600,700" media="all">
<script>
  GliderPayTo.init({
      endpoint: "/my-server/agreement",
      agreement: { ... },
      style: {
        formHeader: "disabled",
        ...
      }
  })
</script>
onProcess callback
If you need to update you business logic when an agreement has been created, you can use onProcess.
<script>

	function agreementProcess(data) {
    console.log('Data is being processed')
    console.log(data)
	}
  GliderPayTo.init({
      endpoint: "/my-server/agreement",
      agreement: { ... },
      style: { ... },
      onProcess: agreementProcess
  })
</script>
onCancel callback
If you need to update you business logic when an agreement has been canceled, you can use onCancel.
<script>

	function agreementCanceled(data) {
    console.log('Data was canceled')
    console.log(data)
	}
  GliderPayTo.init({
      endpoint: "/my-server/agreement",
      agreement: { ... },
      style: { ... },
      onCancel: agreementCanceled
  })
</script>
onSuccess callback
If you need to update you business logic when the transaction was successful, you can use onSuccess.
<script>

	function transactionSuccess(data) {
    console.log('Transaction was successful')
    console.log(data)
	}
  GliderPayTo.init({
      endpoint: "/my-server/agreement",
      agreement: { ... },
      style: { ... },
      onSuccess: transactionSuccess
  })
</script>
Updated 5 months ago
