
Configuring Your Organisation's Okta SSO with Glider
Follow these steps to integrate your organization's Okta Single Sign-On (SSO) with the Glider platform:
-
Sign in to Okta
- Log in as an administrator
-
Navigate to Add Application
- Go to Admin Dashboard > Applications > Add Application.
-
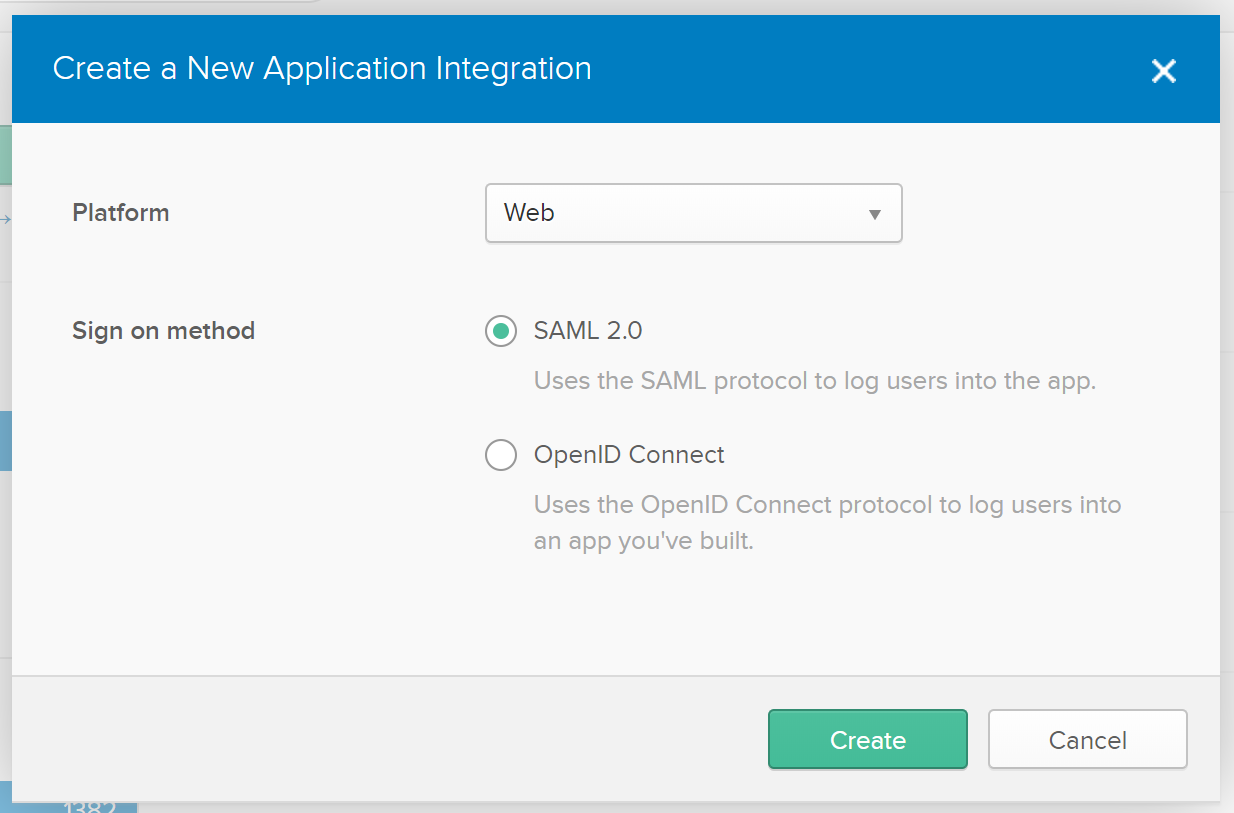
Create a New App
- Click Create New App.
- Select SAML 2.0 as the Sign-On method.
-
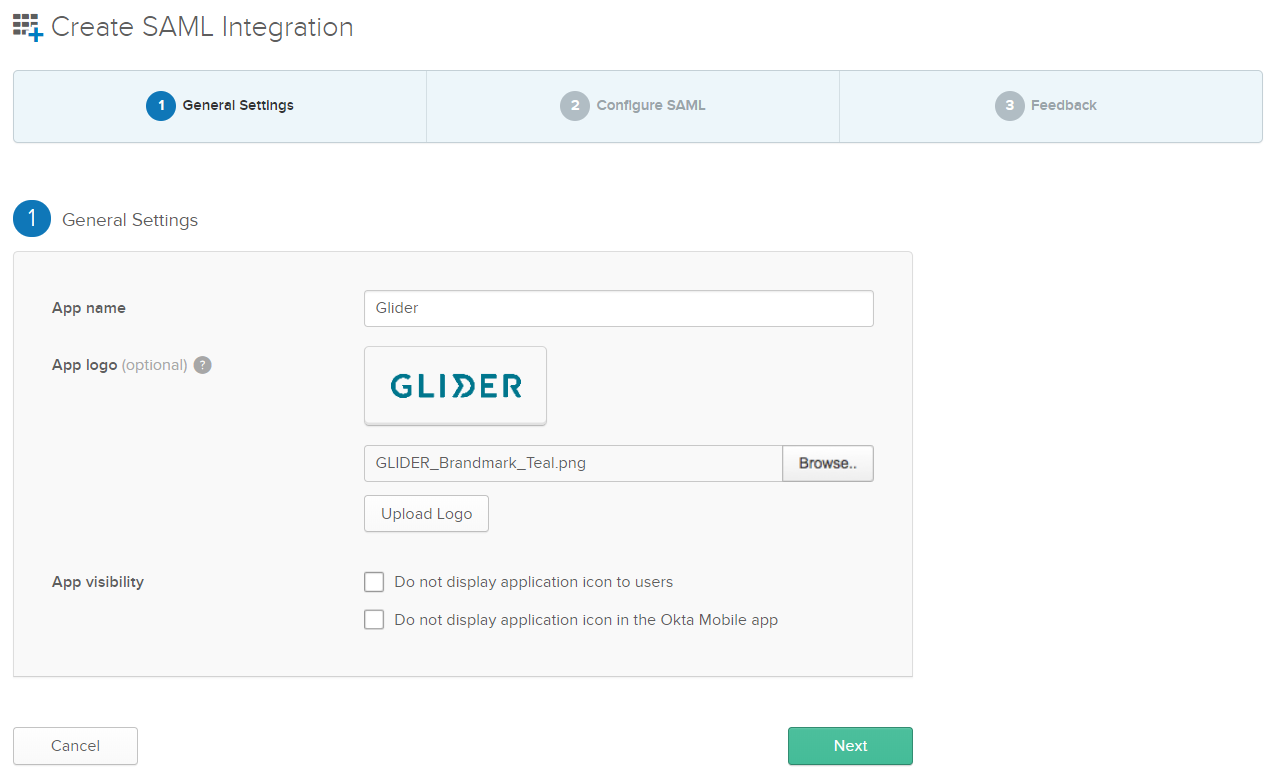
Configure General Settings
- Enter the application name and (optionally) an application logo.
- It is recommended to display the application icon to users, including in the Okta Mobile app.
- If you would like to use a Glider logo, you can download it from this link.
-
Enter SAML Settings
- Single sign-on URL:
- Production: [https://sso.ubiquityplatform.com/saml/login_check]
- Staging: [https://sso-uat.gliderpay.com/saml/login_check]
- Audience URL:
- Production: [https://sso.ubiquityplatform.com/saml/metadata/
{randomID}] - Staging: [https://sso-uat.gliderpay.com/saml/metadata/
{randomID}]
- Production: [https://sso.ubiquityplatform.com/saml/metadata/
- The 'randomID' will be provided by Glider to your IT support representative.
- Name ID format: EmailAddress
- Application username: Okta username
- Single sign-on URL:
-
Set Attribute Statements
Define the attribute statements to map attributes between Okta and Glider. Thefirstnameandlastnameattributes are required.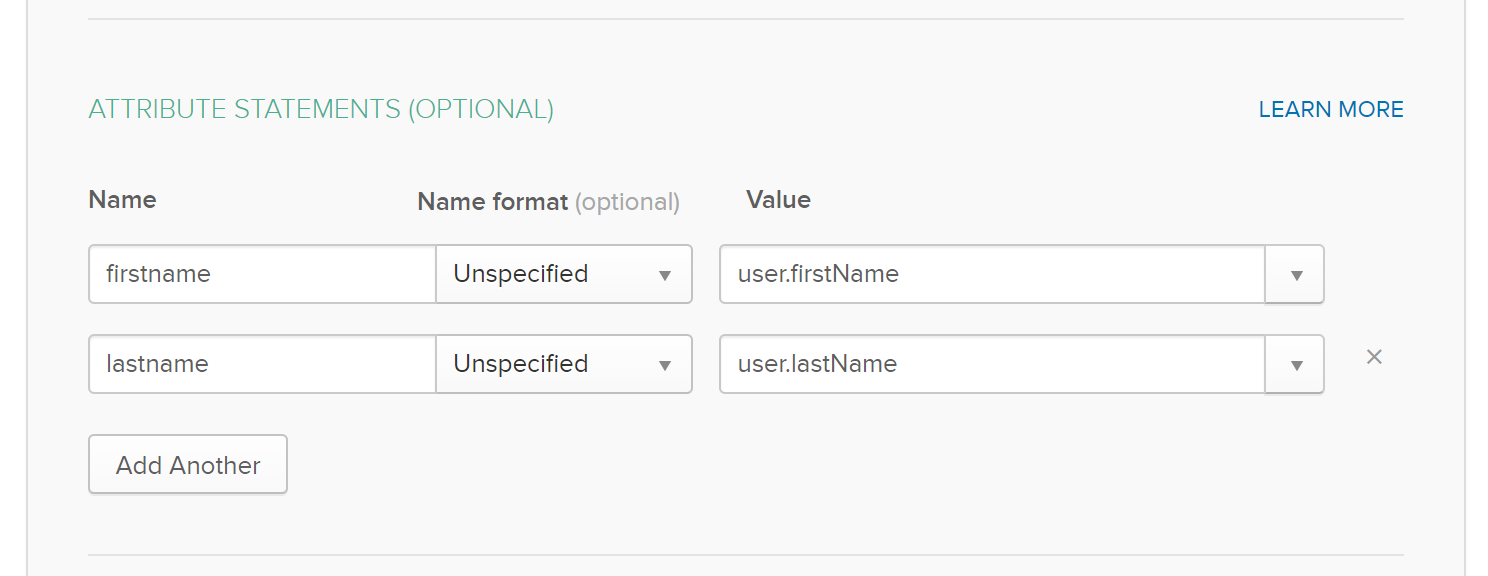
-
Complete App Setup
- Click Next. Set Okta support parameters for the application. Recommended settings:
- I’m an Okta customer adding an internal app
- This is an internal app that we have created
- Click Next. Set Okta support parameters for the application. Recommended settings:
-
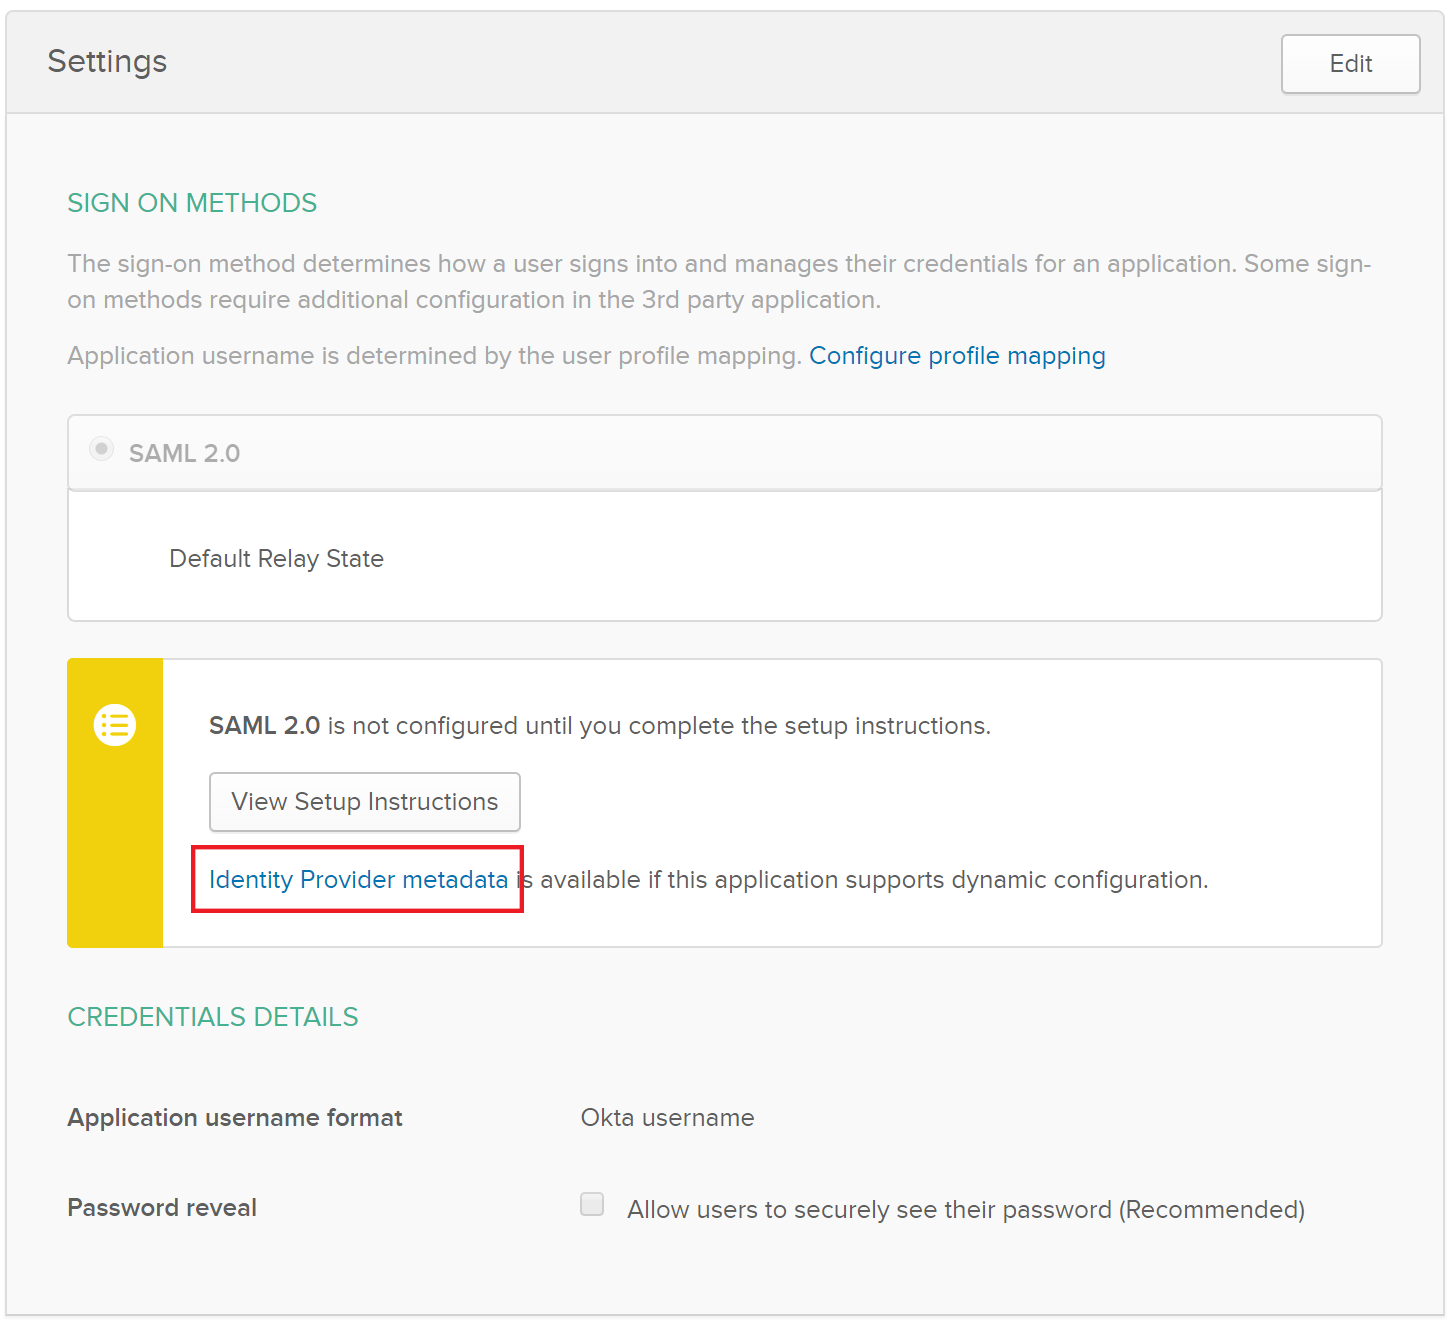
Finalise the Setup
- Click Finish. On the next screen, go to the Sign On tab and collect the Identity Provider Metadata URL.
- Example: [https://mycompany.okta.com/app/xxxxxxxxxxxxxxxxxxxx/sso/saml/metadata]
-
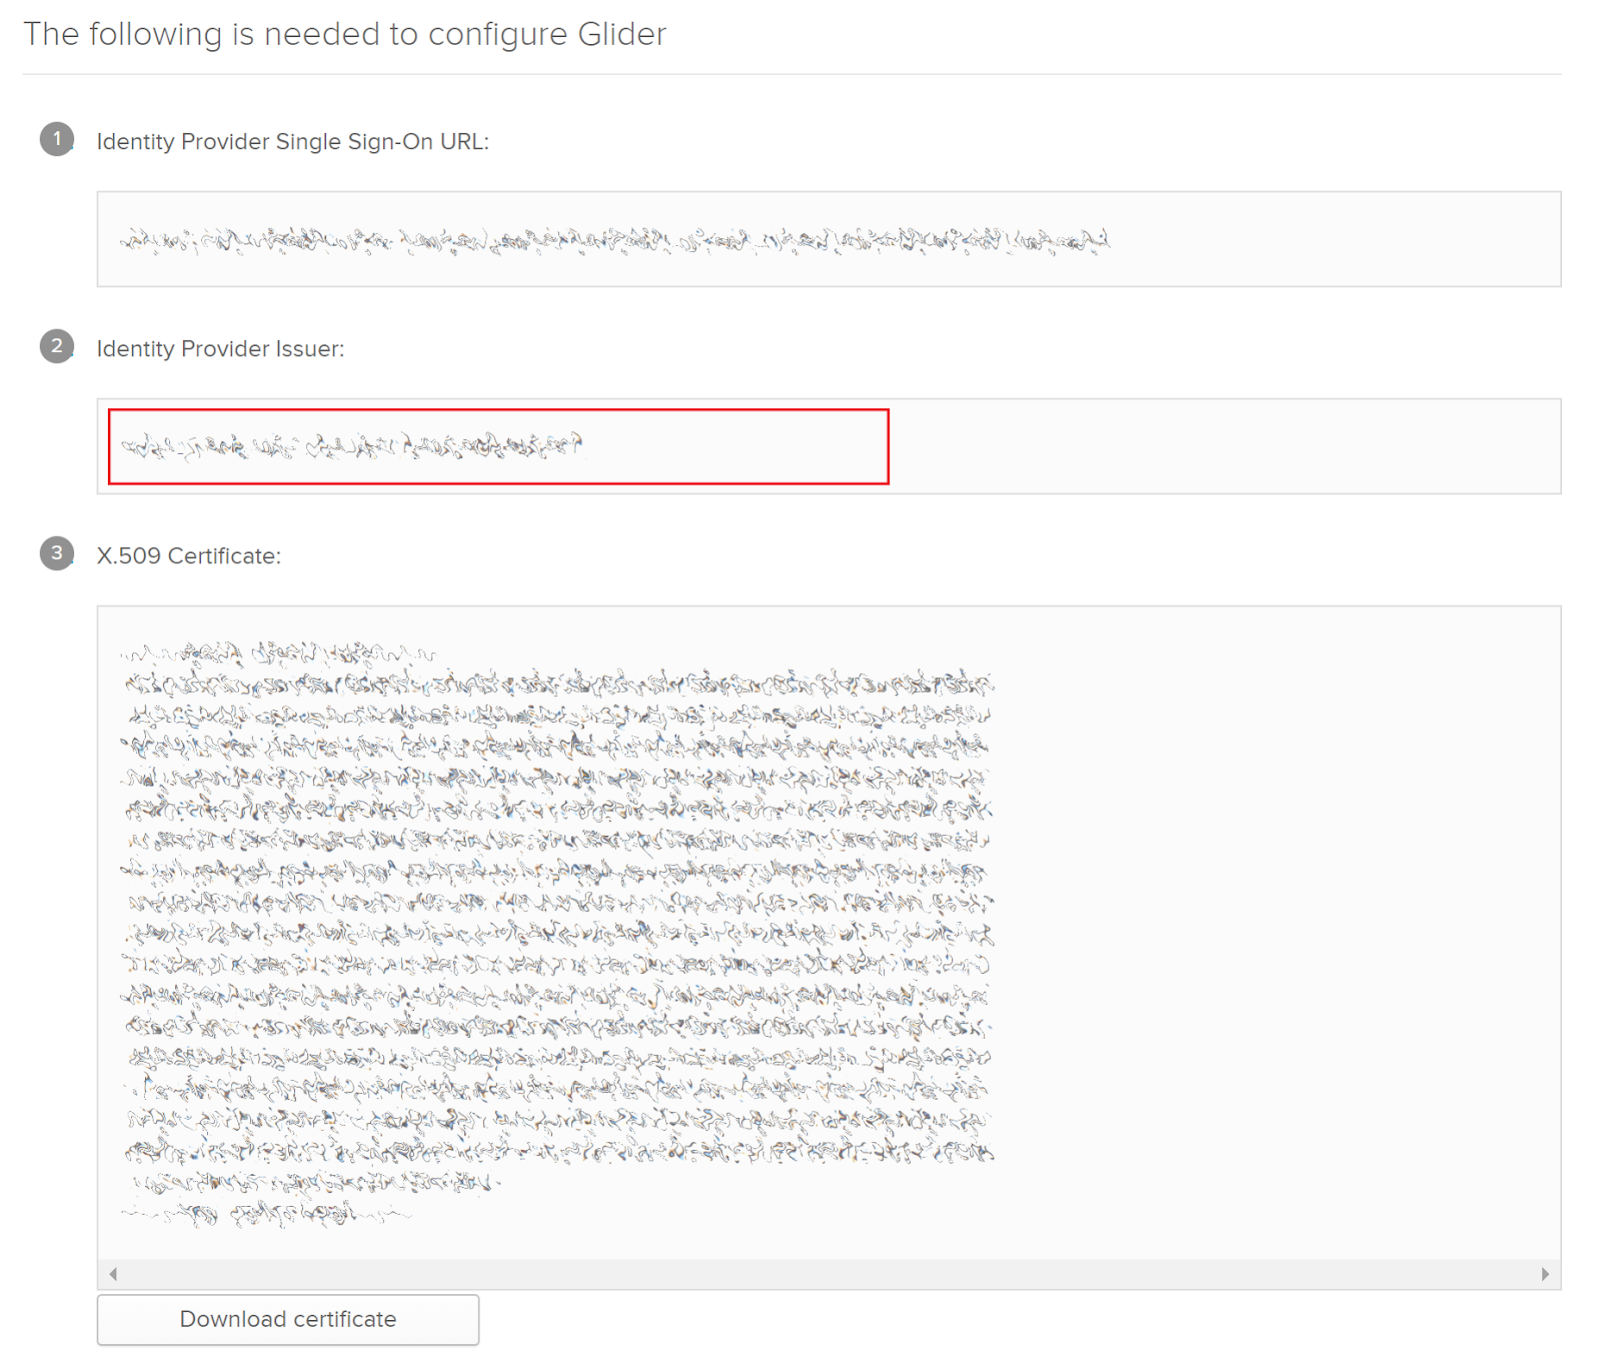
View Setup Instructions
- Click on View Setup Instructions and note the Identity Provider Issuer. The Glider team will need this information to configure SAML on Glider.
-
Create a Glider Test User
- Create a new Okta user account for Glider and assign the Glider app to this user.
- The Glider team will use these credentials to verify the correct SAML configuration. You may remove this user once the setup process is complete.
-
Send Information to Glider
- Securely provide your Glider representative with the following information collected in steps 8, 9, and 10:
- Identity Provider Metadata URL
- Identity Provider Issuer
- Glider test user credentials
- Securely provide your Glider representative with the following information collected in steps 8, 9, and 10:
Updated 10 months ago
Did this page help you?